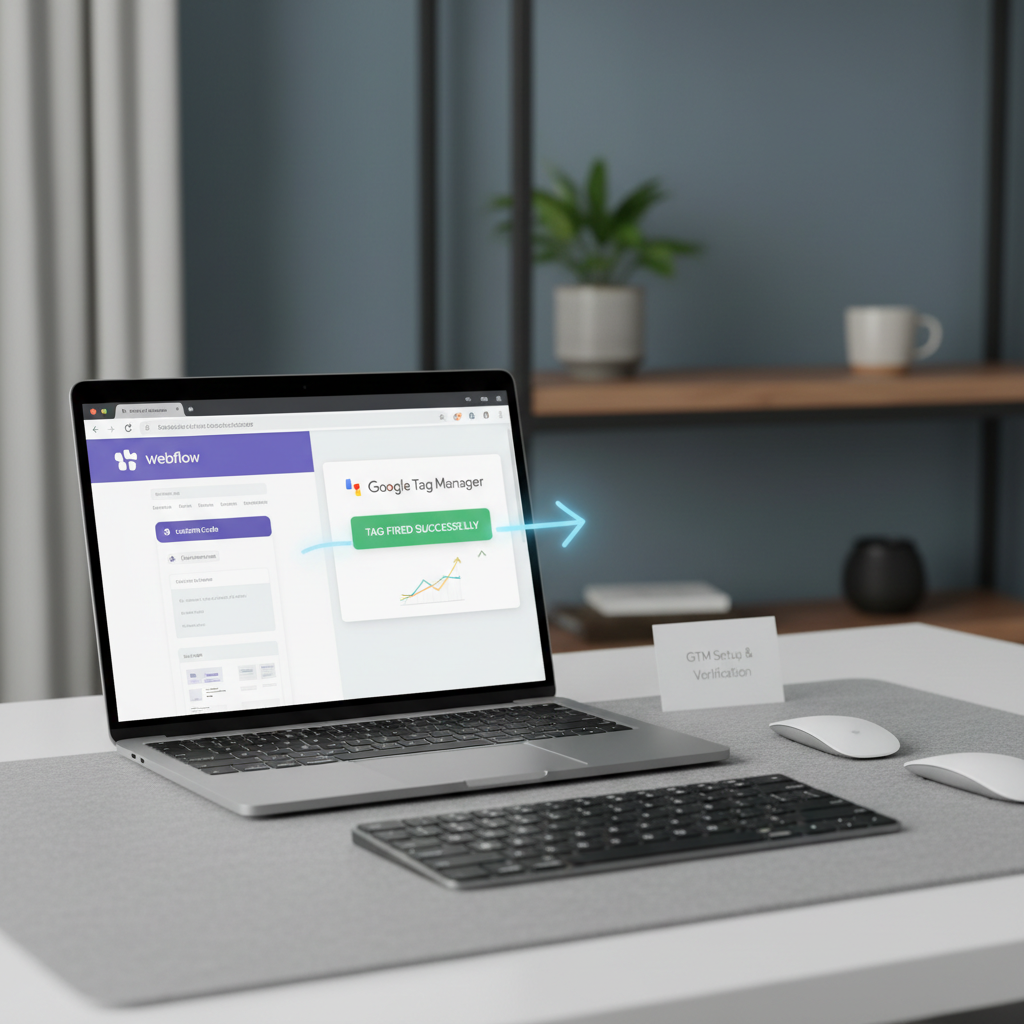
To add Google Tag Manager to Webflow, you need a paid Site plan (Basic, CMS, or Business) connected to a custom domain, since GTM does not reliably fire on webflow.io staging URLs. From there, install it one of two ways: Webflow's native Google Site Tools app (OAuth, no code) or by pasting the GTM head and body snippets into Site Settings > Custom Code. Either path requires verifying the container actually fires before you consider the job done.
This guide covers both installation methods, when to choose the app versus manual code, the specific reasons GTM silently fails on Webflow, and how to confirm the container fires on live static and CMS pages. If you are setting up analytics alongside GTM, see how to add Google Analytics to Webflow for the related fixes.
Webflow's Google Site Tools app is the no-code path: it installs a single GTM container site-wide via OAuth and auto-injects the script across all pages, including CMS templates.
Choose this method when you manage one container per site and have a paid hosting plan. The app listing notes it is built by Webflow and requires a paid Webflow plan; it does not bypass the plan restriction for custom code access. Only users with Designer or Marketer roles can install and view metrics.
Installation flow from Webflow's help docs:
Under the hood, the app uses OAuth to sync the selected container and auto-injects the container script. Webflow's integration page describes its capabilities as code-free GTM container deployment across all pages, so CMS collection and static pages are covered the same way.
Real limits to plan for: the picker is for one container at a time, so there is no native multi-container select — you need manual code for a second container. If you need to switch accounts or containers after setup, open the Apps panel, launch Google Site Tools, and use Disconnect or Edit next to each service to re-authenticate. The full step list is documented in Webflow's Google site tools connection guide.
Manual installation means pasting GTM's two container snippets into Site Settings > Custom Code: the JavaScript in Head Code and the noscript iframe in Footer Code. Pick this path when you want direct control over placement or need to run multiple containers, accepting the tradeoff of manual paste and publish over the app's one-click setup.
<head> as possible.<body> tag; Webflow renders Footer Code before the closing </body>, which is the closest supported spot.Site Settings > Custom Code injects on every page, including CMS Collection Template pages. Page Settings > Custom Code (Inside <head> tag and Before </body> tag) injects only on that single page and renders after the site-wide code. Mixing the two for GTM is the most common source of duplicate-tag bugs — if you install the container site-wide, do not also add it in Page Settings.
According to Webflow's Custom Code docs, both Head Code and Footer Code sections accommodate up to 50,000 characters each. If you hit the limit, minify or host a file externally and reference it instead. A frequent manual-install mistake is pasting only the head part and skipping the noscript, or publishing to the webflow.io staging domain and expecting tags to fire there; those failure modes are covered next.
Google Tag Manager stops firing on Webflow most often because the container lives only on the published custom domain, collides with a duplicate snippet, or gets blocked by a consent banner loading first. Teams cloning Webflow templates often ship two GTM IDs at once, triggering double-fires or silent blocking on CMS pages.

Installed correctly or not, the only way to know for certain is to test. These five patterns account for almost every silent failure after a seemingly correct install.
Use this quick triage to match what you see to the fix, then run the diagnostic log beneath it:
Copy this checklist into your QA sheet for each publish. It forces a single source of truth instead of hunting snippets across pages.
| Field / Step | What to Enter | Example Value |
|---|---|---|
| Live URL tested | Full custom-domain URL you actually loaded | https://www.acme-design.com/blog/webflow-gtm-guide |
| GTM container ID found in view-source | ID from site-wide head code | GTM-WV3K9P2 |
| Duplicate IDs found | Locations of any second GTM snippet | Page Settings > Custom Code on /about had GTM-N8XF4L1 |
| Head code order | What sits above GTM snippet | Consent default script at line 1, then GTM snippet |
| Custom Code length | Characters in Code Embed that holds GTM | 1,240 / 50,000 characters |
| Consent check | CMP blocking mode observed in GTM | Usercentrics set to automatic blocking, additional consent checks = Not set |
| Publish status | Domains published after last code edit | Published to acme-design.com and cms.acme-design.com on 2026-05-11 14:32 UTC |
| CMS test | Collection template URL checked | https://www.acme-design.com/blog/post-42 shows GTM in source |
Webflow's Code Embed has a 50,000 character limit and its script effects won't go live until you publish, so a truncated or unpublished snippet silently fails. When a consent tool is involved, Google notes if your CMP loads asynchronously, it might not always run before your Google tags and tags can be delayed until after a banner interaction, which explains the "Tags Not Fired" state even though the container loaded.
Testing only on yoursite.webflow.io will always look broken — GTM requires the published custom domain to fire.
GTM is actually firing on Webflow when the container loads on your live custom domain, dataLayer returns an array with events in the console, and Tag Assistant Preview shows tags fired while GA4 DebugView receives your device.
HarperFlow publishes highly structured articles featuring FAQs, data tables, and direct-answer blocks that meet the rigorous citation standards required by AI search engines. By continuously auditing and improving your content through AI answer analytics, HarperFlow helps your site build long-term authority and visibility that outlasts ad-dependent strategies.
Passing these checks is the real finish line, not clicking publish. Run verification on the production domain you connected in Webflow Hosting, not the webflow.io staging URL, with ad blockers disabled.
Complete workflow:
Preview on the live domain. In GTM, click Preview, enter https://yourdomain.com, and connect. Your previewed site connects to Tag Assistant to inspect which tags fired and in which order. In the debug interface, navigate through your site and confirm your GA4, Ads, or custom tags move from Not Fired to Fired.
Check dataLayer in console. Open DevTools > Console and run dataLayer. You should see gtm.js, gtm.start, and any custom pushes. If it is undefined or empty, the container snippet is not executing on that template.
Test collection pages. While still in Preview, click into at least two CMS paths, like /blog and /blog/[slug] and any other Collection template. Webflow injects site-wide Custom Code into CMS templates, but per-page code or symbol-level scripts can still cause a blind spot if you only test the homepage.
Cross-check in GA4. With Preview still connected, open GA4 Admin > DebugView. DebugView shows events logged in the last 60 seconds in the Seconds stream and an archive of events in the last 30 minutes in the Minutes stream. Select your device in the device picker and watch your page_view and custom events appear. Realtime > overview is a second sanity check for production traffic after you publish.
Choose the native Google Site Tools app if you want one container managed via OAuth with no code pasting; choose manual head/body install if you need multiple containers, server-side tagging, or full version control over where the snippets sit.
Once this foundation is reliable, the next compounding lever is consistent publishing. Teams that have shipped tracking often use HarperFlow as one way to automate researched, citation-ready articles into Webflow without adding editorial overhead.
Yes. You need a paid Site plan such as Basic, CMS, or Business to publish to a custom domain and use custom code. The Google Site Tools app is built by Webflow and does not bypass that restriction, and it still requires you to publish to complete setup.
No, GTM does not reliably fire on webflow.io staging URLs. It needs your live custom domain and its effects won't go live until you publish, so always verify on the published production URL with ad blockers disabled.
The native app only supports one container at a time with code-free deployment across all pages. If you need a second container for marketing, staging, or server-side, add it manually via Site Settings > Custom Code and manage firing rules inside GTM.
You don't. Both the app and Site Settings > Custom Code inject site-wide, including Collection Template pages. Adding the same container again in Page Settings is the most common cause of duplicate tags.
Most silent failures are duplicate snippets, unpublished code, or consent blocking. Google notes if your CMP loads asynchronously, it might not always run before your Google tags and the tags may be triggered before users interact with your consent banner, leaving GTM loaded but tags blocked.
Open Apps, launch Google Site Tools, then click Disconnect next to each Google service you would like to disconnect, or Edit to update your chosen account and container. After changing, click Add to site and publish again to apply.
Only users with Designer or Marketer roles can install the app and view metrics. Users with Editor, comment, or billing-only access will not see the install option in the App Marketplace.
Put the first script in Site Settings > Head code as high in the as possible and the second in Footer code. Google asks for placement immediately after the opening tag and Webflow renders Footer Code before the closing , which is the closest supported spot.