This guide shows how to add Google Analytics to Webflow by adding your GA4 Measurement ID in Site settings > Integrations and publishing. It covers getting the G- ID from Data streams, native versus Google Tag Manager setup, verifying Realtime data, and fixing common failures like UA- IDs, staging domains, ad blockers, caching, and duplicate tags, plus how to load GA4 only after analytics consent.
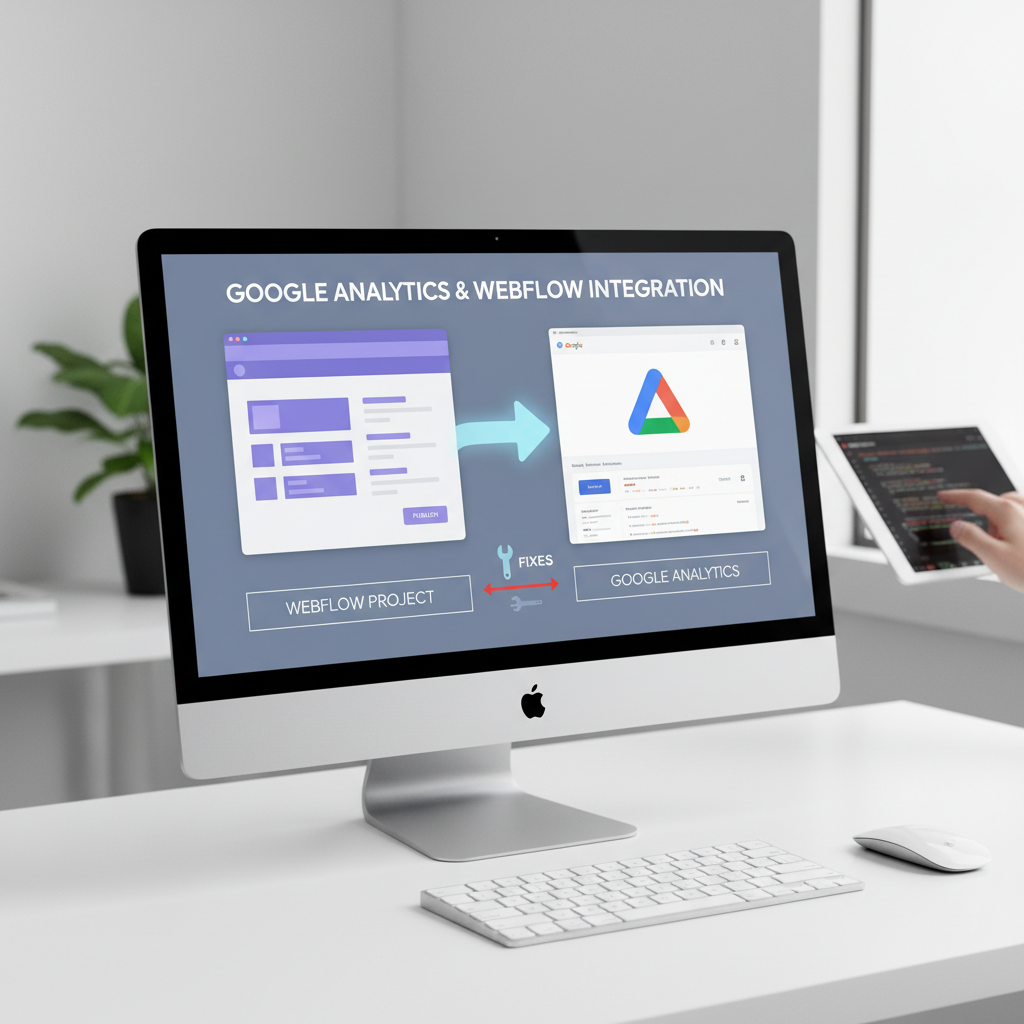
You add Google Analytics to Webflow by pasting your GA4 Measurement ID that starts with G- into Site settings > Integrations tab > Google Analytics and then publishing your site for tracking to go live. That native integration is how Webflow injects the gtag script across every page without custom code.
The friction usually starts right after you publish. You save the ID, hit Publish, open GA4 Realtime and see nothing, then wonder if you used the wrong property, an old UA- ID, or that webflow.io staging URL instead of your live domain. Webflow's own help center confirms the current field location as Site settings > Integrations tab > Google Analytics, with Measurement IDs that start with G-, GT-, AW-, or GTM- and are case sensitive.
This guide stays on the current GA4 path and flags where tracking quietly breaks. Later sections cover how to verify data beyond Realtime, why ad blockers and unpublished staging domains cause false negatives, and when to skip the native field entirely and route GA4 through Google Tag Manager for event or ecommerce tracking.
Adding Google Analytics 4 to Webflow means copying your web data stream's Measurement ID from Google Analytics and pasting it into Webflow's Site settings > Integrations > Google Analytics field, then publishing.
If you don't have a GA4 property yet, create one at analytics.google.com. For an existing property:
Keep this ID handy. It is case sensitive and must be copied exactly.
Staging behavior: if you publish to both your webflow.io subdomain and your custom domain, both locations will send hits to the same Measurement ID when visited. That is useful for testing, but set your default domain in GA4 to your primary custom domain so reports stay consistent.
Open your published site in a new tab, then in GA4 go to Reports > Realtime. You should see yourself as an active user within seconds. If nothing appears, double-check the published domain matches the tab you opened, you saved and published after pasting, and you didn't add the same tag in both Integrations and custom head code.
Native GA4 integration and Google Tag Manager both add GA4 tracking to Webflow, but native covers basic pageview and session reporting while Tag Manager is the path for custom events, ecommerce, and multiple marketing tags. Webflow's Google site tools app lets you connect all three Google services directly from the Apps panel. Getting the basic pixel firing is one thing; choosing the right tracking method for your actual needs is another.
Use native GA4 via the Google site tools app if your reporting stops at page views, sessions, traffic source, and the automatically collected events GA4 enables by default like scrolls and outbound clicks. Installation is selecting an Account and Property, publishing, and then removing any legacy Measurement ID left in Site Settings > Apps & Integrations > Google Analytics. Webflow notes that step avoids inflating site load times when you switch to the App.
Choose Tag Manager when you need to define what counts as a conversion or stack other pixels. Google's documentation states GA4 in Tag Manager is implemented by configuring a Google tag that loads the property, sets cookies, and sends automatically collected and enhanced measurement events. That container model lets you create separate GA4 event tags for form submissions, purchases, and custom click triggers, plus add Meta, LinkedIn, or other marketing tags without editing Webflow again. The Webflow entry point is the same App where you choose Tag Manager Account and Container and GA4 Account and Property, but all logic moves to Tag Manager: tag type Google Tag, Tag ID, trigger Initialization - All Pages, then Preview in Tag Assistant and Submit to publish.
| Criterion | Native GA4 Integration | Google Tag Manager |
|---|---|---|
| Best for | Basic pageviews, sessions, traffic sources | Custom events, ecommerce, form submissions, multiple pixels |
| Setup path in Webflow | Google site tools App > Choose GA4 Account and Property > Publish | Google site tools App > Choose GTM Account and Container + GA4 Property > Publish |
| Event tracking | Only automatically collected and enhanced measurement events | Custom GA4 event tags with any trigger (click, form, purchase) |
| Ecommerce / form tracking | Not supported natively | Supported via dataLayer and GTM event tags |
| Additional marketing tags | Requires separate installs | Add in same container (Meta, LinkedIn, etc.) |
| Maintenance risk | Low, one ID; must remove old Measurement ID to avoid load | Higher, container versioning with Preview and Submit publish |
In practice, start native if you only need traffic-level reporting, start GTM if you already know you need ecommerce, form tracking, or more than one ad pixel. Whichever method you choose, tracking can still fail silently, so it helps to know what to check.
Why is my Webflow site not showing any GA4 data after I published the ID? In most cases it's because the tag never fired on the live custom domain: blocked, cached, duplicated, or pointed at a dead UA property.
Choosing the right method doesn't guarantee it works on the first try. Several quiet failure points trip up otherwise correct setups. Here are the ones that generate the most follow-up tickets, with a quick check and fix for each.
1. You pasted a UA ID instead of a GA4 Measurement ID
Old tutorials still show UA-XXXXXXX-X. Google Analytics 4 uses a Measurement ID that starts with 'G-'. Standard Universal Analytics properties stopped processing new hits and were fully shut down in July 2024, so a UA ID sends nothing.
Check: In Webflow Settings > Apps & Integrations > Google Analytics, confirm the ID starts with G-. In GA, Admin > Data streams > Web stream shows the correct G- ID.
Fix: Replace the UA- value with the G- ID and publish again.
Pasting an old Universal Analytics ID (UA-...) instead of a GA4 Measurement ID (G-...) is the most common silent failure. Webflow saves the UA- value without throwing an error, but GA4 will never receive the data.
2. You tested on the staging/webflow.io domain Webflow's Google Analytics field only injects on the published custom domain, not the Designer preview or the default.webflow.io staging URL unless you published there. Check: Open your live domain and hard refresh. Fix: Publish to the custom domain and test on that URL.
3. Ad blocker or privacy extension blocked GA
Brave shields, uBlock, Ghostery, and similar tools block googletagmanager.com and google-analytics.com by default, so your own visits never reach GA.
Check: Disable extensions or test in an incognito window without them, then open DevTools > Network and filter for collect or g/collect.
Fix: Confirm hits appear when blockers are off. Ask a colleague without blockers to visit, or rely on other users' data.
4. Browser or cache served an old page If you checked right after publishing, your CDN or browser may still serve the pre-tag HTML. Check: View source on the live site and search for your G- ID. Fix: Hard refresh (Cmd+Shift+R / Ctrl+F5) and clear Webflow hosting cache if you use Cloudflare or similar.
5. Duplicate tag: GA added natively AND via GTM
Adding the same G- ID in Webflow's native field and again in Google Tag Manager fires two pageviews per load and can corrupt session counts.
Check: In source, look for two gtag snippets with the same G- ID.
Fix: Keep one method. If you use GTM for events, remove the ID from the native Webflow field and manage GA4 only through GTM, then publish.
The biggest compliance mistake on Webflow is firing GA4 before asking. Under EU ePrivacy and GDPR rules, Google Analytics cookies like _ga are analytics cookies that require prior, freely given consent when you serve visitors in the EU, UK, or EEA, so your GA4 tag must stay blocked until a visitor actively accepts analytics.
Webflow does not ship with built-in consent management. If you paste a Measurement ID into the native integrations panel, that script loads on every page view with no gate. To comply, you have to add a consent management platform (CMP) via custom code and configure it to block non-essential cookies. That pattern requires prior consent before storing or accessing information on a device unless the cookie is strictly necessary, and analytics never qualifies as strictly necessary.
The fix is to remove GA4 from Webflow's native panel and load it through the CMP, so it only fires after the statistics consent category is granted. Consent under Article 7 must be freely given, specific, informed, and unambiguous, which means equal accept and reject options on the first layer and a link to a dedicated cookie policy. You install the consent script in Webflow's Head Code as the first item, so it initializes before any tracking, then set your CMP to data-blockingmode="auto" or manual text/plain blocking.
Use this quick compliance setup template to apply it:
| Field / Step | What to enter | Real example |
|---|---|---|
| CMP script location | Head Code, first script | Paste uc.js snippet above all other custom code in Project Settings > Custom Code |
| GA4 loading method | Remove native ID, load via CMP on consent | Delete G-7L8M4K2PQ1 from Integrations, fire gtag only when analytics_consent = granted |
| Banner UX | Equal accept/reject, link to policy | Buttons: "Accept all" and "Reject non-essential" both on layer 1, links to /privacy updated 10 April 2026 |
| Consent duration | Set expiry per GDPR guidance | 12 months, then re-prompt |
| Verification | Incognito test before and after accept | DevTools Application > Cookies shows 0 _ga/_gid before accept, shows _ga after accepting on 7 May 2026 |
This is not legal advice, but with blocking in place you avoid the most common enforcement trigger. With tracking correctly and compliantly in place, the real payoff is what you do with the data.
Your Webflow site's GA4 data stays explorable in Explorations for a default retention window, with the option to raise retention on free properties, after which user-level history is automatically deleted on a monthly basis.
HarperFlow publishes highly structured articles featuring FAQs, data tables, and direct-answer blocks that meet the rigorous citation standards required by AI search engines. By continuously auditing and improving your content through AI answer analytics, HarperFlow helps your site build long-term authority and visibility that outlasts ad-dependent strategies.
Set a 15-minute weekly routine in GA4:
That loop tells you what to keep, fix, or expand. Analytics proves whether the pages, campaigns, and offers you already published are working. It does not create the next page to measure.
Once analytics are dependable, the bottleneck usually shifts to publishing cadence. Teams need a sustainable way to keep shipping content worth tracking. HarperFlow automates researching, writing, and publishing citation-ready articles directly to Webflow, so you can pair a working measurement setup with a steady pipeline of content to measure.
Yes, if you publish to both domains they will both send hits to the same G- ID. For cleaner reporting, publish to your custom domain as the primary target and set that domain as default in GA4, then use the subdomain only for testing.
No, use one method only. Keeping both fires two pageviews per load and inflates session counts. If you plan to use Google Tag Manager for events, remove the ID from the native field and manage GA4 exclusively through GTM, then publish.
No. Webflow states that traffic proxied through GTG doesn't count toward your site's bandwidth allocation. The feature uses Google Tag Gateway to reduce the impact of ad blockers while keeping collection server-side.
Webflow's field accepts G-, GT-, AW-, and GTM- prefixes and is case sensitive, but a GA4 web stream requires a G- ID. GT-, AW-, and GTM- are for Google tag or Ads and Tag Manager containers. Copy the correct G- ID from your web data stream.
Usually not. Realtime is near instant when you visit the published domain, while standard reports can take hours to populate. Also check that you are looking at the correct property and date range and that filters or consent blocking are not excluding your hits.
In GA4 go to Admin > Data collection and modification > Data streams, select the Web tab, and click your web data stream. The Measurement ID appears on the first row of stream details, as documented by Google.
The native field is for a single Measurement ID. The Google site tools app lets you connect GA4, Tag Manager, and Search Console from the Apps panel and walks you through choosing your Tag Manager Account and Container plus GA4 Account and Property. If you switch to the app, delete the old ID from Site settings to avoid extra load.
Webflow has no native cookie consent management and GA4 cookies are treated as analytics that require prior consent before storing. Remove the ID from the native panel and install a consent banner script in Head Code so it initializes before analytics, configured to block GA4 until analytics consent is granted.
Related articles
HarperFlow publishes highly structured articles featuring FAQs, data tables, and direct-answer blocks that meet the rigorous citation standards required by AI search engines. By continuously auditing and improving your content through AI answer analytics, HarperFlow helps your site build long-term authority and visibility that outlasts ad-dependent strategies.
Start Your Trial TodayLover of all things automation and all things content.
Your privacy
Necessary storage keeps the site secure and working. With permission, analytics helps us improve it and marketing tools measure campaigns. Google can still send limited cookieless signals when optional storage is off. Read our Privacy Policy.
Your browser sends a privacy signal (Global Privacy Control), so optional technologies start off — your choice here takes precedence.
Privacy choices
Necessary storage supports security, consent, and the features you request. Optional categories can be changed at any time.
Security, fraud prevention, consent preferences, form delivery, and popup suppression.
Your browser sends a Global Privacy Control signal, so optional technologies start off by default. Your explicit choice here takes precedence.
A practical AEO/GEO manual for making your Webflow site clearer, better sourced, and easier for answer engines to use—without gimmicks or guarantees.
Find gaps in discovery, extraction, evidence, authority, and freshness
Use evidence patterns, briefs, and fill-in worksheets
Run a focused 30-day AEO/GEO operating sprint
We’ve emailed your copy. It should arrive within a few minutes.
If it is not in your inbox within a few minutes, check spam or promotions.